Welcome to Ledger.com/Start – Your Secure Gateway to Crypto Management
Are you ready to take control of your cryptocurrency assets securely? Ledger.com/Start is your go-to guide for setting up and managing your Ledger hardware wallet with ease. Whether you're a beginner or an experienced investor, we provide a simple, step-by-step process to ensure your digital assets remain safe.
Why Choose Ledger?
Ledger is a world-renowned provider of secure hardware wallets designed to protect your crypto investments from cyber threats. With advanced security features, a user-friendly interface, and seamless integration with popular platforms, Ledger makes crypto management secure and straightforward.
Key Benefits of Using Ledger Wallets:
- Unparalleled Security: Your private keys never leave the device, keeping them safe from hackers.
- Multi-Currency Support: Store, send, and receive multiple cryptocurrencies in one wallet.
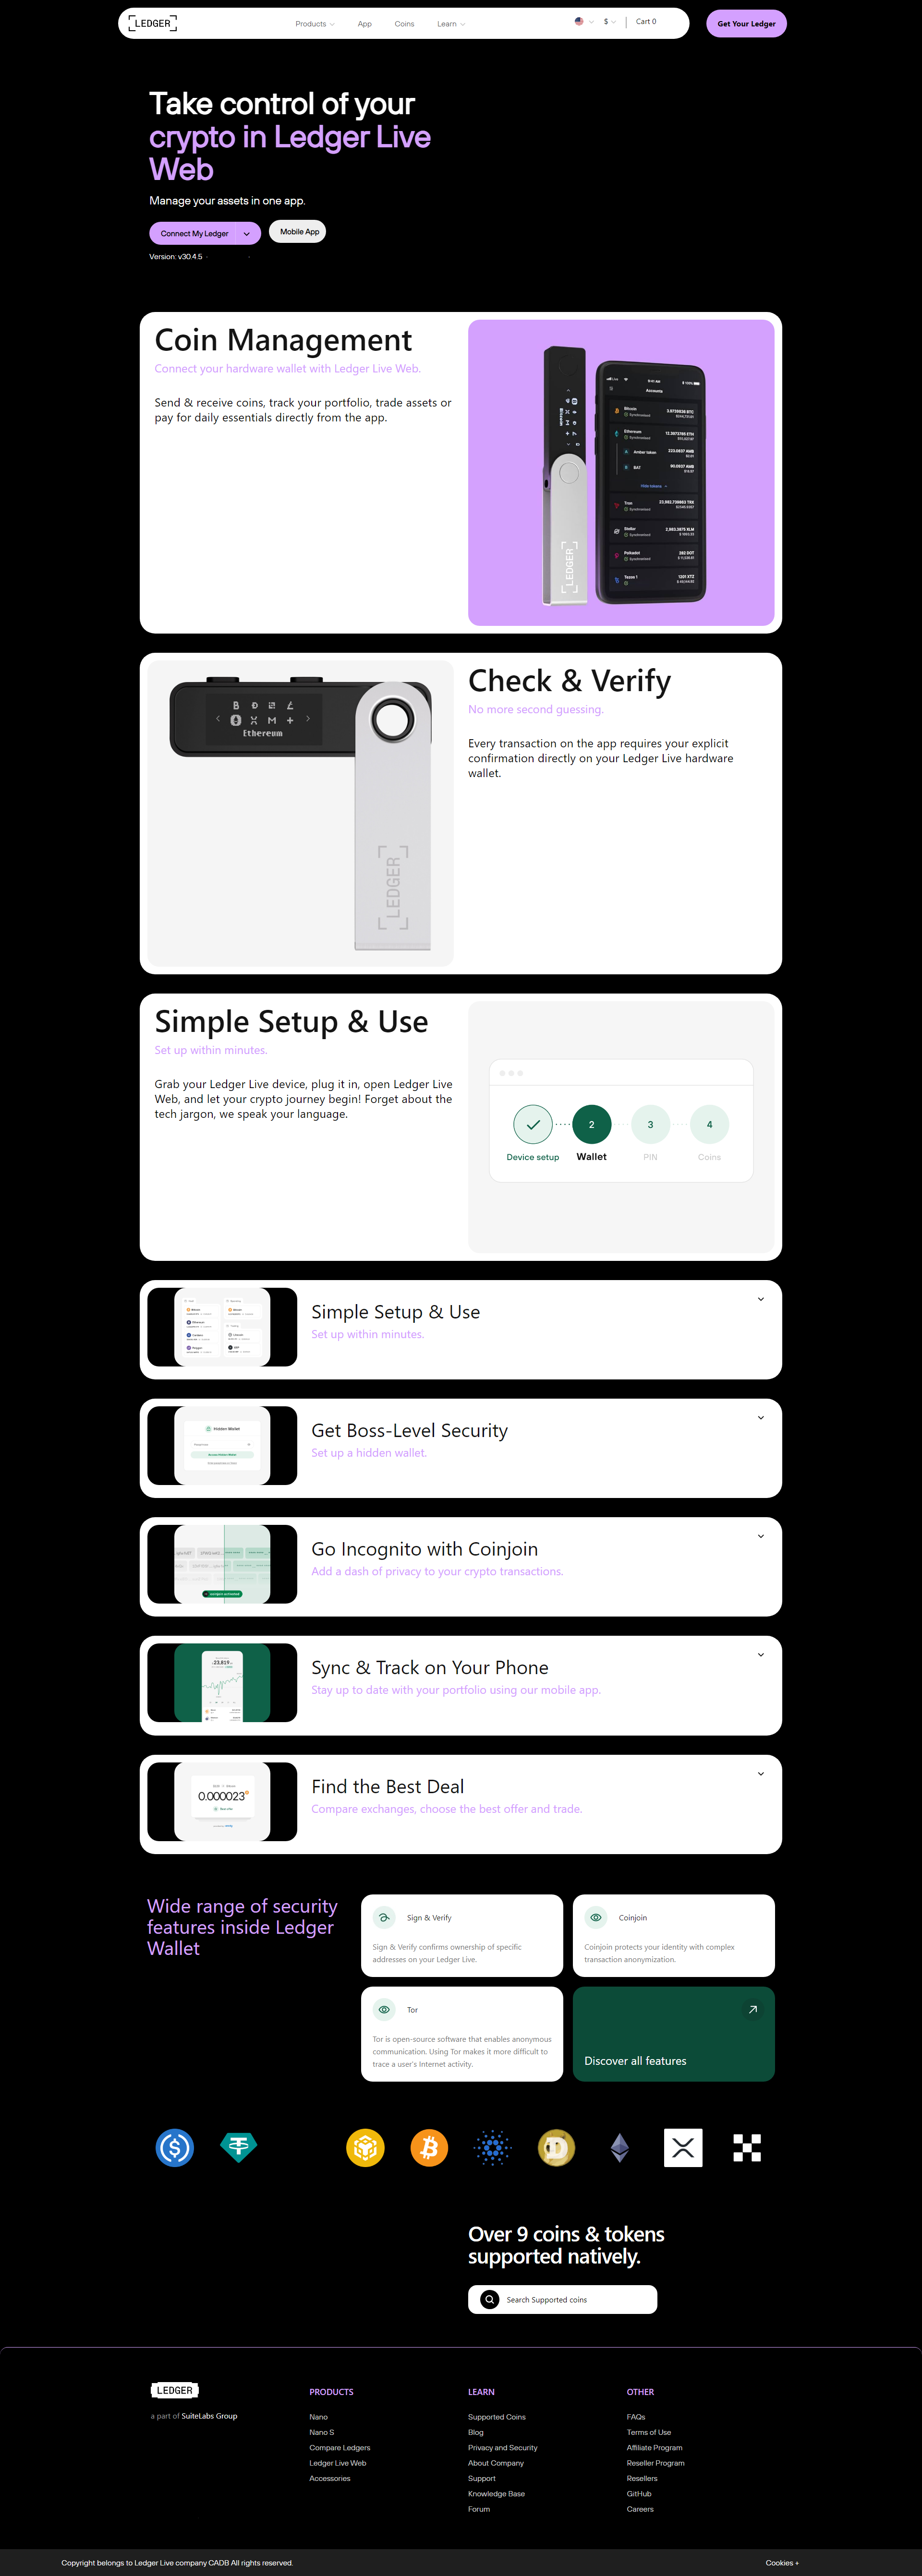
- User-Friendly Interface: Easy-to-use Ledger Live app for smooth navigation.
- Backup & Recovery: Securely restore your wallet using a 24-word recovery phrase.
How to Set Up Your Ledger Wallet at Ledger.com/Start
Step 1: Unbox Your Ledger Device
Once you receive your Ledger Nano S Plus, Ledger Nano X, or Ledger Stax, unbox it carefully. Inside, you'll find:
- Ledger hardware wallet
- USB cable
- Recovery sheet
- Instructions manual
Step 2: Connect Your Ledger Wallet
Plug your device into your computer or smartphone using the provided USB cable or Bluetooth (for Ledger Nano X). Go to Ledger.com/Start and download the official Ledger Live application.
Step 3: Install Ledger Live
Ledger Live is your control center for managing crypto assets. Download and install the application from Ledger.com/Start. Ensure you download it from the official source to avoid counterfeit software.
Step 4: Initialize and Secure Your Wallet
- Turn on the device and follow on-screen instructions.
- Set a strong PIN code to enhance security.
- Write down your 24-word recovery phrase on the recovery sheet. This phrase is crucial for restoring your wallet in case of loss or theft.
Step 5: Install Crypto Apps
After securing your device, install apps for your favorite cryptocurrencies via Ledger Live. Ledger supports Bitcoin, Ethereum, XRP, and thousands of other assets.
Step 6: Receive & Manage Crypto
Now that your wallet is set up, you can receive crypto by generating a receiving address in Ledger Live. Always verify the address on your Ledger device before confirming transactions.
Best Practices for Using Your Ledger Wallet Safely
To ensure the highest level of security for your assets, follow these best practices:
- Never Share Your Recovery Phrase: No one, including Ledger support, will ask for it.
- Always Download from Official Sources: Use only Ledger.com/Start for downloads and setup.
- Enable Secure PIN Code: Choose a PIN that’s difficult to guess.
- Verify Transactions on Device: Always confirm transactions directly on your Ledger device screen.
- Keep Your Recovery Phrase Safe: Store it in a secure place, away from digital threats.
Troubleshooting and Support
If you face any issues while setting up or using your Ledger wallet, visit Ledger.com/Start for troubleshooting guides, FAQs, and customer support. The Ledger community is always available to help you navigate any challenges.
Final Thoughts
Using Ledger.com/Start ensures that you set up your Ledger hardware wallet correctly while keeping your crypto assets secure. By following the step-by-step guide, you can confidently store, send, and manage cryptocurrencies with the highest security standards.